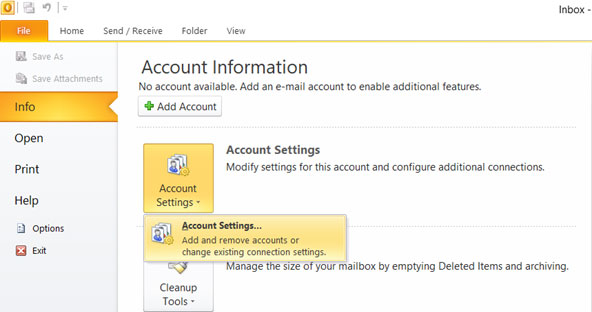
Step 1: Launch Outlook 2010. Select Tools from the top menu bar, then Accounts Settings
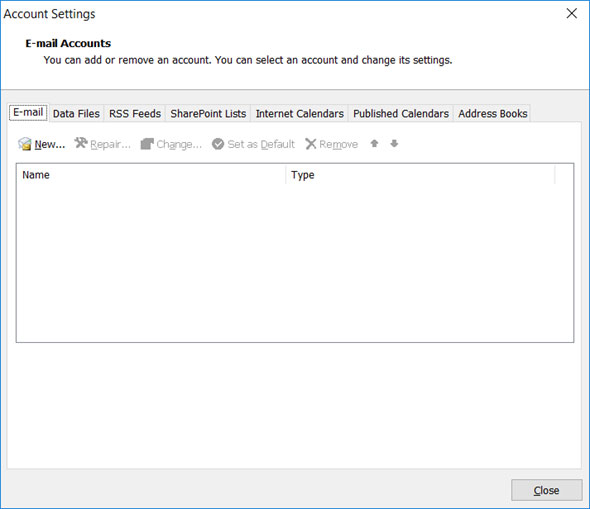
Step 2: On the Account Settings screen, click New on the E-mail tab
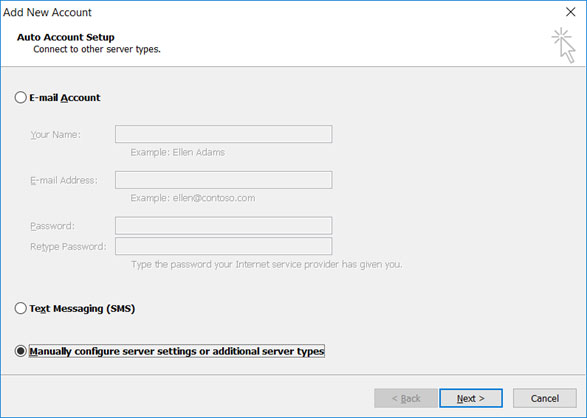
Step 3: In the Add New Account box choose Manual setup or additional server types > Next
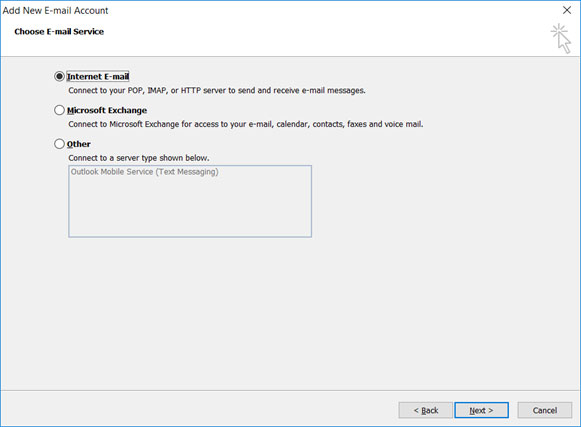
Step 4: Select Internet E-mail and click Next
Step 5: Enter all the relevant details (Select POP or IMAP according to your preference) and then click More Settings
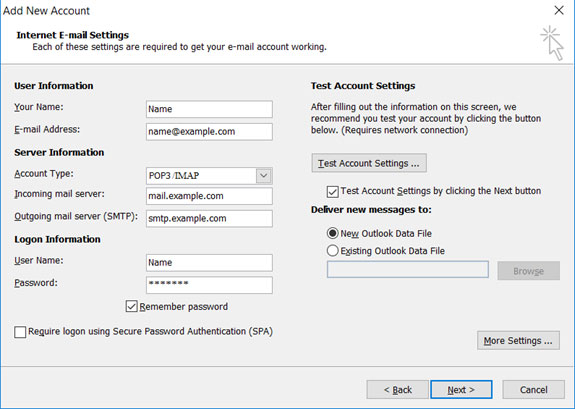
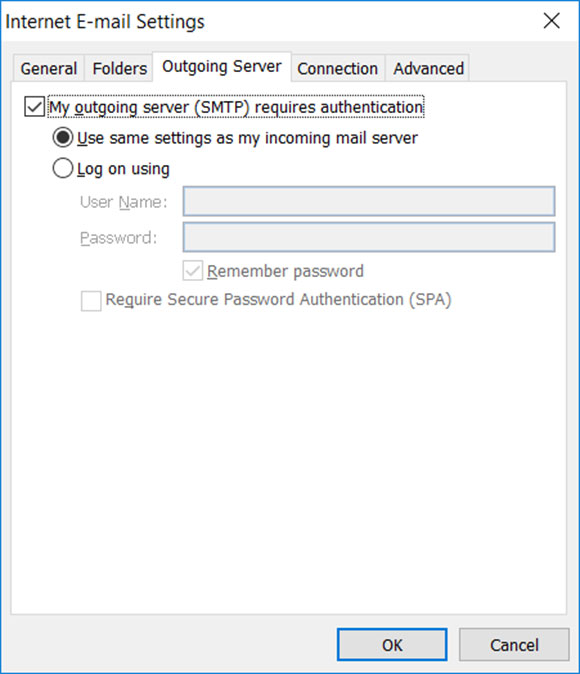
Step 6: Click on the Outgoing Server tab and ensure that the My outgoing server (SMTP) requires authentication checkbox is selected, as well as Use same settings as my incoming mail server
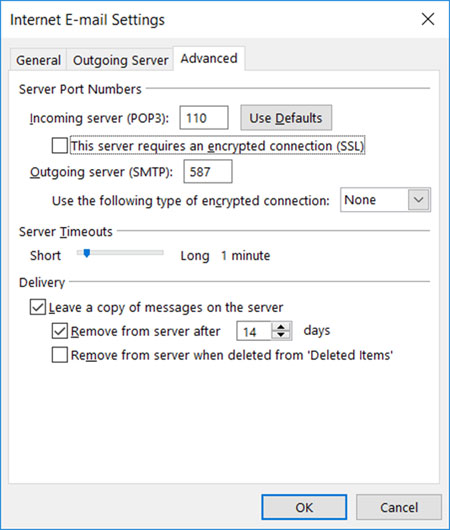
Step 7: Select the Advanced tabEnsure that yourdomain.tld settings are as below for your choice of either POP or IMAP.
POP port settings for yourdomain.tld
- Incoming Port: 110, Outgoing Port: 587
- General settings for POP
- Secure – Port: 995 and Security Type: SSL/TLS (Accept all certificates)
- Insecure – Port: 110 and Security Type: None (Accept all certificates)
- Not ticked: This server requires an encrypted connection (SSL)
- Use the following type of encrypted connection is None
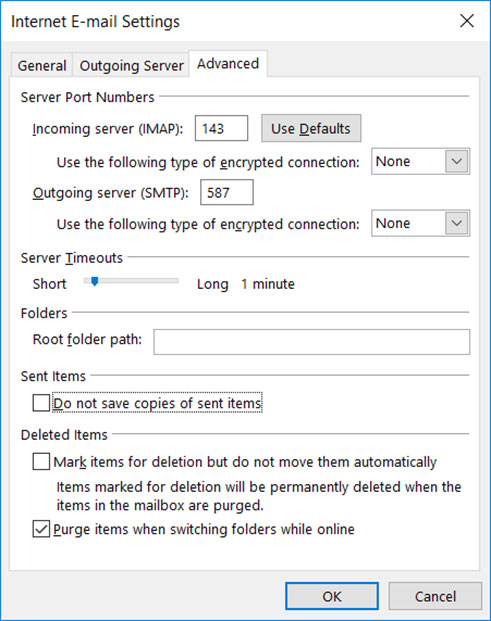
IMAP port settings for yourdomain.tld
- Incoming Port: 143, Outgoing Port: 587
- Secure – Port: 993and Security Type: SSL/TLS (Accept all certificates)
- Insecure – Port: 143 and Security Type: None (Accept all certificates
- Not ticked: This server requires an encrypted connection (SSL)
- Use the following type of encrypted connection is None
Note: If you use Secure SSL / TLS Settings, check the “This service requires a secure connection (SSL)” box in both outgoing and Incoming mails.
General SMTP port settings for yourdomain.tld
- Outgoing (SMTP) Secure – Port: 465 for and Security Type: SSL/TLS (Accept all certificates)
- Outgoing (SMTP roaming server) Secure – Port: 587 and Security Type: SSL/TLS (Accept all certificates)
- Outgoing (SMTP) – Port: 25 and Security Type: None (Accept all certificates)
- Outgoing (SMTP roaming server) Insecure – Port: 587 and Security Type: None (Accept all certificates)
Step 8: Click OK to save these settings
Step 9: Click Next and Finish
Congratulations! You are all done here and ready to use your email account on Outlook 2010.
